The Mini-Golf Sculpture Project!
The Art Guru
2.5k Followers
Grade Levels
5th - 12th, Higher Education, Adult Education, Homeschool, Staff
Subjects
Resource Type
Formats Included
- PPTX
Pages
126 pages
The Art Guru
2.5k Followers
What educators are saying
All I can say is wow! This project was a huge hit and so well put together. Even the parents were excited and engaged in discussing and playing their student's projects.
Description
This Power-Point presentation contains 126 slides to help guide you and your students through the entire process of building your own in-class mini-golf course. The project teaches cooperative learning, is differentiated based on abilities and involves drawing, sculpture and painting. The end result is a nine-hole mini-golf course that can be played by the students and provides a good balance of both learning and enjoyment. Below, is a breakdown of what you can expect in this all-inclusive unit. I’m positive that your students will love this project as much as mine did.
Enjoy!
Bo (The Art Guru)
Slides 1-9: get the students excited about the project through a brief history of the game, and through pictures showing all ages and ethnicities (even recent Presidents of the USA) playing mini-golf. This section is culturally diverse and makes the project relatable to everyone.
Slides 10-18: showcase various career possibilities related to mini-golf including: golf course design, landscape architect, construction and engineering, entrepreneurship, toy design, video game design, and more. This section shows how interrelated art is to these other fields of study and promotes career possibilities for the students to ponder.
Slides 19 -20: are a breakdown of the project goals and include a rubric for how the students will be scored. These two slides roll out the basics of the project and are followed by numerous slides which make the project more clearly understood.
Slides 21-28: illustrate various mini-golf course themes. From rock and roll to art, hockey and more, these examples show students some possibilities for how their individual mini-golf holes should be thematic.
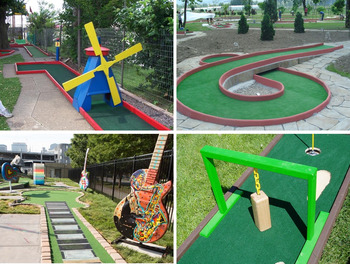
Slides 29-30: are dedicated to varied terrain possibilities. You’ll see images of real mini-golf holes, with inclines, banks, rolling hills, over and unders, etc.
Slides 40-46: take a look at obstacles that are used in real-life mini-golf courses. How will your students make the individual holes more challenging?
Slides 47-53: showcase moving parts. From fans, and windmills, to see-saws, and swinging pendulums, adding actual movement to the design always adds that “wow” factor.
Slides 54-58: show actual holes that have multi-tiered levels. Your students may choose to create tunnels and bridges that take them from one putting surface to another.
Slides 59-69: take a look at other added embellishments and mini-sculptures that might be added for more fun and a challenge to each hole.
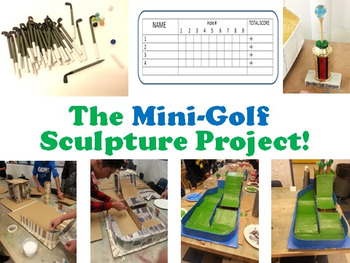
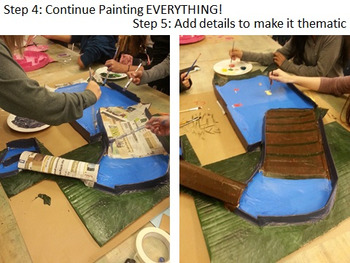
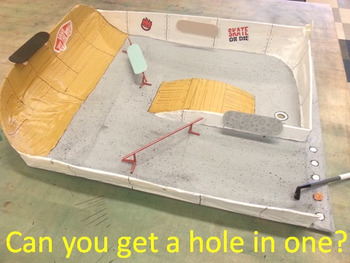
Slides 70-118: show the creation of ten different individual student holes and walks you through each step in the process. From the cardboard and tape stage through paper mache and painting, you’ll watch each hole evolve from start to finish. These section will show you and your students design possibilities, as well as more thematic options. This section ends with a You-Tube video link where you can watch my students play mini-golf on the exact holes pictured here.
Slides 119-126 are for the teacher. They include a complete materials list, a lesson plan, printable self-assessment sheet and teacher assessment sheet, printable scorecard, and information about gold clubs, pencils, prizes and more.
Total Pages
126 pages
Answer Key
N/A
Teaching Duration
N/A
Report this resource to TPT
Reported resources will be reviewed by our team. Report this resource to let us know if this resource violates TPT’s content guidelines.


