MAKE A MAP IN GOOGLE DRIVE™
- PDF
- Google Apps™

What educators are saying
Also included in
- Are you looking to Integrate technology in meaningful ways? Get your students CREATING with these highly engaging digital activities! Creation projects for Google Drive™ are a great way for students to explore their digital creativity with an academic twist. This BUNDLE contains 10 creation projectsPrice $49.99Original Price $60.67Save $10.68
Description
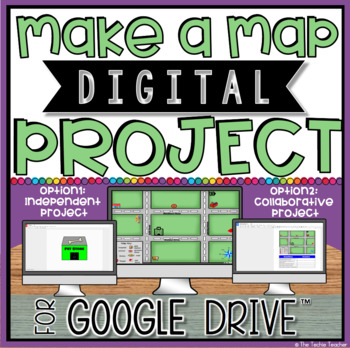
Make a Map Digital Project in Google Drive™ is a great way for students to explore map skills. It would even be a nice addition to a social studies unit on communities. Click HERE to see my video promo of this product.
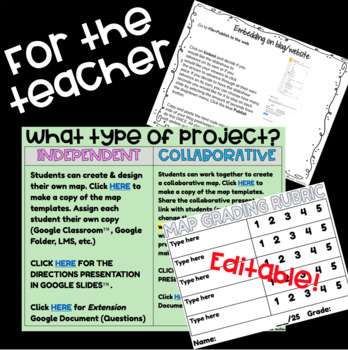
The initial download contains a link that will prompt you to make a copy of a Google Slides™ presentation. This presentation contains all of the links you will need to carry out this project with students. Slide 2 contains directions for using this as an independent project as well as a whole class collaborative project. It could also be completed in small groups. Your choice!
Independent Project:
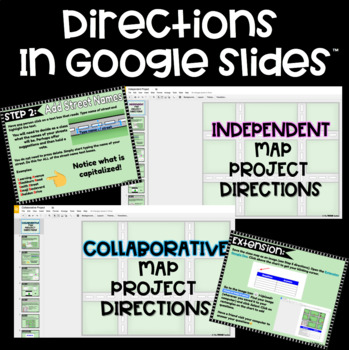
A Google Slides™ presentation with step by step directions and video tutorial is included. Project this on your board for the whole class to follow or send students the link to click through themselves. All text in this presentation is editable so you can adjust this project to fit your needs.
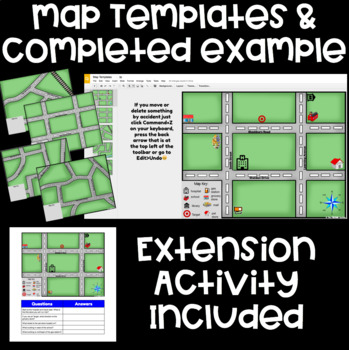
The four different town map templates and example of a completed map in a Google Slides™ presentation will need to be assigned to students so they each have their own copy. Assign this presentation however you disperse templates to your students (Google Classroom™, Google Drive™, LMS, etc.). Students will choose which template they would like to use and delete the rest.
Students will type the names of the streets they would like to assign to their map in the provided text boxes . Then they will add a compass rose by using the line tool, using the shape tool or conducting an image search.
Community building icons can be added to the map by conducting an image search, designing in Google Drawing™ and saving as a png image or mixing both options. A video tutorial is included that shows students how to open a Google Drawing™ template straight from the map template in Google Slides™, how to use some of the tools to design/create, save as an image and import into the map. Also, students will add their building icons to a map key and insert a text box to display the labels.
Extension Activity: A Google Document™ with a 2 column table is included. Disperse to your students so they each have their own copy. They will add their map image to the top of the document and type questions about their map in the questions column. Students will visit another computer and answer their peer's questions by typing in the answer column.
Collaborative Project:
Students will work together to create an INTERACTIVE class community map. *You could opt for them to complete this project in small groups* Discuss the types of businesses and buildings that would make the perfect community. Each child should choose a different building/business that they will add to the class map as their contribution.
A different Google Slides™ presentation with step by step directions and video tutorial is included. Project this on your board for the whole class to follow or send students the link to click through themselves. All text in this presentation is editable so you can adjust this project to fit your needs.
The four different map templates and example of a completed map in one Google Slides™ presentation will need to be assigned to students so they each have the same copy. Assign this presentation however you disperse templates to your students (Google Classroom™, Google Drive™, LMS, etc.). Discuss as a class which template they would like to use and delete the rest.
Students will need to decide as a class what to call the street names. Ask for suggestions and then hold a class vote. Have one or two students change the names of the streets using the provided text boxes. Then work together as a class to add a compass rose by using the line tool, using the shape tool or conducting an image search. *Tech Idea: Using the free web tool, Dotstorming , students can submit their ideas. The class can vote on their favorite street names by clicking the little dots on the notes of the names they like best (teacher can set how many votes each student can make on the board). A link to a blog post I wrote about how Dotstorming works is included.
Each student will design their own building to add to the class community map by using Google Drawing™ and saving as a png image. A video tutorial is included that shows students how to open a Google Drawing™ template straight from the map in Google Slides™, how to use some of the tools to design/create, save as an image and import into the map. Also, students will add their building icons to a map key and insert a text box to display the labels. *It is noted in the directions that all of the icons might not fit in the key if the entire class adds to the map. That's OKAY! Add the icons that someone could not easily recognize just by looking at the image. *
MAKING THE INTERACTIVE MAP: After the class map has been created, the teacher will add and assign a blank slide for each student. Students hyperlink their icon to their slide and will add the following to their blank slide:
★Name
★Image of building icon
★A text box with a description of their contribution to the map
★A text box with the word HOME that will link to the min map slide
Once this step is completed, launch the presentation in presentation mode and click on the building icons to read all about the community! The HOME buttons are used to quickly return to the class map. Check out the preview to see this in action.
Extension Activity: A Google Document™ with a 2 column table is included. Disperse to your students so they each have their own copy. They will add the class map image to the top of the document and type questions about the map in the questions column. Students will visit another computer and answer their peer's questions by typing in the answer column.
A 25 point EDITABLE grading rubric is included. Type in your grading criteria and print!
Also included are directions for embedding the map in your class blog/website.
You can also find this product in my DIGITAL CREATION PROJECTS BUNDLE.
© 2015 Google and the Google Apps are registered trademarks of Google Inc.
**************************************************************************
Follow Me so you can be notified about my latest products! (Click the star near The Techie Teacher icon)
You can also follow me on:

