3D Isometric Drawing and Design for Middle School
- PDF
What educators are saying
Description
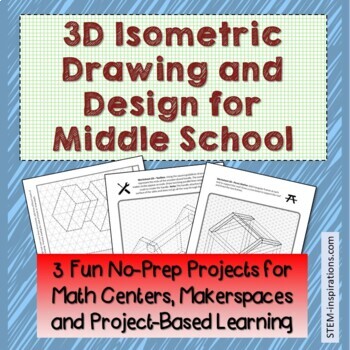
3D Isometric drawing and design projects for Middle School drafting, PLTW, STEM, technology, graphic design, project-based learning, and pre-engineering classes.
Your students will love this fun, No-Prep mini lesson. Students will learn an easy way to draw in 3D using isometric graph paper printed with a triangular grid. This skill provides a missing element in many modeling and design classes before tackling CAD software: The process of conceiving an idea in 3D, and then translating it into a two-dimensional drawing which communicates that idea to others.
Why help students visualize in 3D?
Several online resources are available to teach students how to create 3D computer-aided design (CAD) drawings. But many still lack access to internet technology. Many don’t yet have sufficient skill to operate freely in a digital environment. And many students, like adults, just “think better on paper.”
Now, without advanced math, students can learn to quickly sketch 3D isometric drawings using paper printed with lines that cross at 120-degree angles, creating flattened diamonds or triangles. Isometric dot grid paper works the same way.
By following the lines (or connecting the dots) students can easily learn to create 3D cubes, rectangles, and other geometric shapes. These shapes can be combined to make more complicated drawings.
NOTE: For best results, use the "color" setting on your printer.
What's Included
This product includes No-Prep worksheets for three realistic projects, along with five warmup worksheets to learn how to use isometric paper. Each worksheet shows one step in the progression of building up an isometric drawing of the project. As students complete the steps, they understand the thinking behind how to design objects in three dimensions.
- Warmup Worksheet A – How to use Isometric Paper
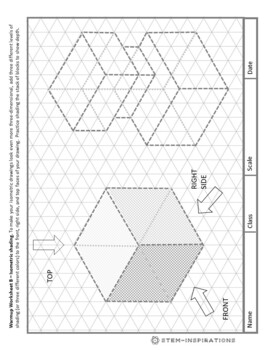
- Warmup Worksheet B – Isometric Shading
- Warmup Worksheet C – Isometric Rhombohedrons
- Warmup Worksheet D – Isometric Circles and Arcs
- Warmup Worksheet E – Isometric Scale Drawing
- Worksheets 1A through 1D – Pup Tent
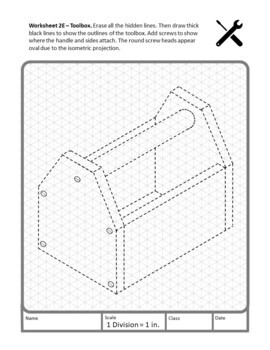
- Worksheets 2A through 2E – Toolbox
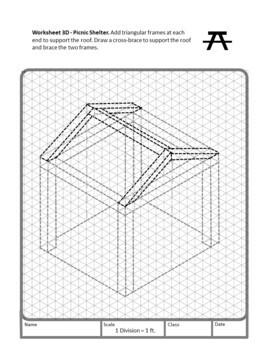
- Worksheet 3A through 3F – Picnic Shelter
Extra Isometric Paper Templates
- Landscape isometric paper template
- Portrait isometric paper templates
Once a project is completed, students may embellish their design with shading, color, and decorative details to create an attractive work of art to use for class presentation.
As an extension of these paper projects, students can practice transferring their ideas to an online isometric drawing tool, such as the ones from the National Council of Teachers of Mathematics, MorphiApp or Sketchup.
This product can be used as a follow-on to:
- How to Draw Like an Engineer – Isometric Drawing.
- How to Draw Like an Engineer – Part I
- How to Draw Like an Engineer – Part II
- No-Prep 3D Isometric Christmas Designs for Engineering, Math Centers, or PBL
- Isometric Drawing Worksheets for Middle School - Backyard Wildlife Habitat
Please click to follow my TPT store or visit the STEM-Inspirations blog for more information on isometric drawing. And once you've tested the product with your students, don't forget to leave a review for TPT credits. Thank you!


